In this article, we will discuss an important technique for efficiently drawing many objects with a single draw call: instanced rendering. This technique helps you get the most out of the GPU while keeping memory and CPU usage to a minimum.
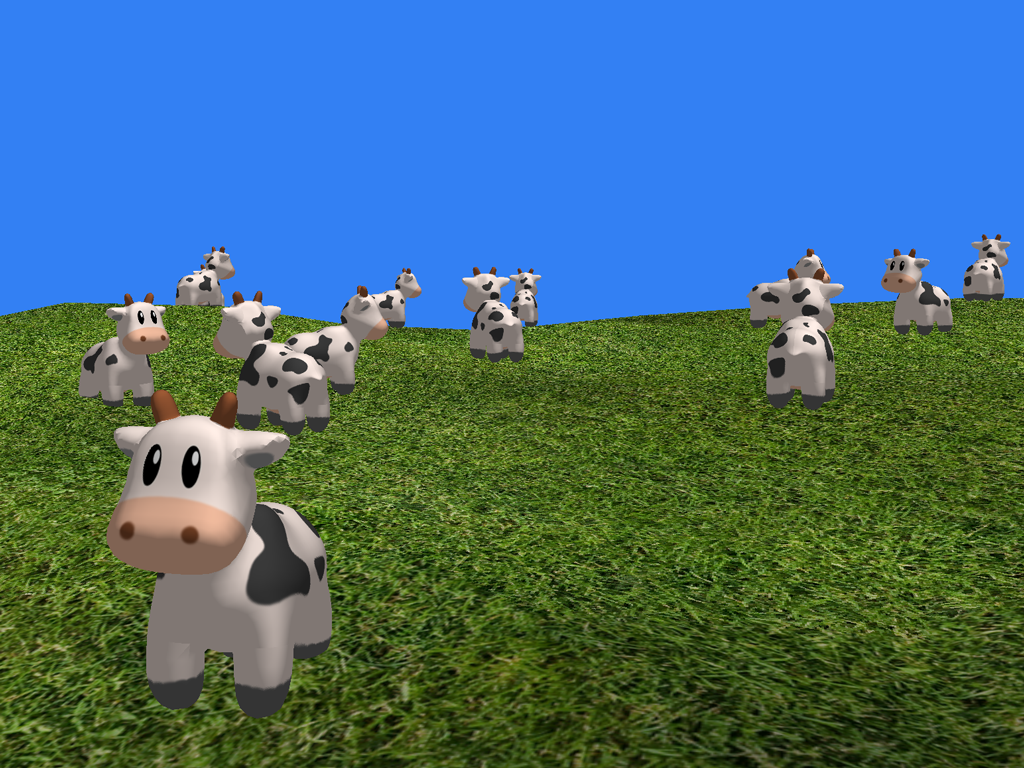
The sample app for this post renders several dozen animated cows moving on top of a randomly-generated terrain patch. Each cow has its own position, orientation, and movement direction, all of which are updated every frame. We do all of this drawing with only two draw calls. The app consumes only a few percent of the CPU, but maxes out the GPU, drawing over 240,000 triangles per frame. Even with this large load, the device manages to render at an ideal 60 frames per second.
Download the code for the sample app here.
What is Instanced Rendering?
Virtual worlds frequently have many copies of certain elements in the scene: particles, foliage, enemies, and so on. These elements are represented in memory by a single piece of geometry (a mesh) and a set of attributes that is specific to the application. Instanced rendering draws the same geometry is drawn multiple times, with each instance’s attributes used to control where and how it appears.
Instanced rendering is also called “geometry instancing”, “instanced drawing”, or sometimes just “instancing”. Below, we discuss how to achieve instanced rendering in Metal.
Setting the Scene
The virtual scene for this article is a pastoral hillside with numerous roving bovines. The terrain is uniquely generated each time the app runs, and every cow has its own randomized path of motion.
Generating the Terrain
The features of the terrain are created by an algorithm called midpoint displacement, also called the “diamond-square” algorithm. It is a technique that recursively subdivides the edges of a patch of terrain and nudges them randomly up or down to produce natural-looking hills. Since the focus of this article is instanced drawing and not terrain generation, refer to the sample source code if you are curious about this technique (see the MBETerrainMesh class). An interactive demonstration of the technique can be found online here. You can read the original paper on the topic here.
Loading the Model
We use the OBJ model loader created for previous articles to load the cow model. Once we have an OBJ model in memory, we create an instance of MBEOBJMesh from the appropriate group from the OBJ file.
Instanced Rendering
Instanced rendering is performed by issuing a draw call that specifies how many times the geometry should be rendered. In order for each instance to have its own attributes, we set a buffer containing per-instance data as one of the buffer arguments in the vertex shader argument table. We also need to pass in a shared uniform buffer, which stores the uniforms that are shared across all instances. Here is the complete argument table configurable for rendering the cow mesh:
[commandEncoder setVertexBuffer:cowMesh.vertexBuffer offset:0 atIndex:0];
[commandEncoder setVertexBuffer:sharedUniformBuffer offset:0 atIndex:1];
[commandEncoder setVertexBuffer:cowUniformBuffer offset:0 atIndex:2];
Now let’s look specifically at how we lay out the uniforms in memory.
Storing Per-Instance Uniforms
For each instance, we need a unique model matrix, and a corresponding normal matrix. Recall that the normal matrix is used to transform the normals of the mesh into world space. We also want to store the projection matrix by itself in a shared uniform buffer. We split the Uniforms struct into two structs:
typedef struct
{
    matrix_float4x4 viewProjectionMatrix;
} Uniforms;

typedef struct
{
    matrix_float4x4 modelMatrix;
    matrix_float3x3 normalMatrix;
} PerInstanceUniforms;
The shared uniforms are stored in a Metal buffer that can accommodate a single instance of type Uniforms. The per-instance uniforms buffer has room for one instance of PerInstanceUniforms per cow we want to render:
cowUniformBuffer = [device newBufferWithLength:sizeof(PerInstanceUniforms) * MBECowCount
                                       options:MTLResourceOptionCPUCacheModeDefault];
Updating Per-Instance Uniforms
Because we want the cows to move, we store a few simple attributes in a class called MBECow. Each frame, we update these values to move the cow to its new position and rotate it so it is aligned with its direction of travel.
Once a cow object is up-to-date, we can generate the appropriate matrices and write them into the per-instance buffer, for use with the next draw call:
PerInstanceUniforms uniforms;
uniforms.modelMatrix = matrix_multiply(translation, rotation);
uniforms.normalMatrix = matrix_upper_left3x3(uniforms.modelMatrix);
memcpy([self.cowUniformBuffer contents] + sizeof(PerInstanceUniforms) * i, &uniforms, sizeof(PerInstanceUniforms));
Issuing the Draw Call
To issue the instanced drawing call, we use the drawIndexedPrimitive: method on the render command encoder that has an instanceCount: parameter. Here, we pass the total number of instances:
[commandEncoder drawIndexedPrimitives:MTLPrimitiveTypeTriangle
                           indexCount:indexCount
                            indexType:MTLIndexTypeUInt16
                          indexBuffer:cowMesh.indexBuffer
                    indexBufferOffset:0
                        instanceCount:MBECowCount];
To execute this draw call, the GPU will draw the mesh many times, reusing the geometry each time. However, we need a way of getting the appropriate set of matrices inside the vertex shader so we can transform each cow to its position in the world. To do that, lets look at how to get the instance ID from inside the vertex shader.
Accessing Per-Instance Data in Shaders
To index into the per-instance uniform buffers, we add a vertex shader parameter with the instance_id attribute. This tells Metal that we want it to pass us a parameter that represents the index of the instance that is currently being drawn. We can then access the per-instance uniforms array at the correct offset and extract the appropriate matrices:
vertex ProjectedVertex vertex_project(constant InVertex *vertices [[buffer(0)]],
                                      constant Uniforms &uniforms [[buffer(1)]],
                                      constant PerInstanceUniforms *perInstanceUniforms [[buffer(2)]],
                                      ushort vid [[vertex_id]],
                                      ushort iid [[instance_id]])
{
    float4x4 instanceModelMatrix = perInstanceUniforms[iid].modelMatrix;
    float3x3 instanceNormalMatrix = perInstanceUniforms[iid].normalMatrix;
The rest of the vertex shader is straightforward. It projects the vertex, transforms the normal, and passes through the texture coordinates.
Going Further
You can store any kind of data you want in the per-instance uniform structure. For example, you could pass in a color for each instance, and use it to tint each object uniquely. You could include a texture index, and index into a texture array to give a completely different visual appearance to certain instances. You can also multiply a scaling matrix into the model transformation to give each instance a different physical size. Essentially any characteristic (except the mesh topology itself) can be varied to create a unique appearance for each instance.
Navigation
You can move around in the sample app by holding your finger on the screen to move forward. Turn the camera by panning from left or right.
Conclusion
Download the code for the sample app here.
In this brief article, we’ve seen how to draw multiple objects in a single draw call. Using instanced rendering allows you to efficiently reuse geometry while populating your virtual world with characters and environmental effects. You can alter the appearance of instances by passing per-instance data in a buffer, which can be subsequently accessed in your vertex shader and used in whatever way you see fit. This technique allows us to utilize the full power of the GPU to render dozens of animated characters very easily.
Great example code!
A question about the framerate: using iOS 8 base SDK I’m getting around 48 fps on an iPad Air, but with the iOS 9 base SDK it’s only 5 fps. Looks like something significant changed under the hood. Any chance you will revisit the example code?
I sure will! Thanks for bringing this to my attention.
Hi Warren, thanks so much for an excellent site.
I noticed that setting stepFunction to MTLVertexStepFunctionPerInstance seems to also work fine and is perhaps more efficient although I didn’t see any speedup. Like the commenter above I’m also seeing not-so-great performance on an iPad Air 2, iOS9. The demo runs at 30fps with each frame taking ~28ms GPU time.
As an aside, do you understand the stepRate param? The docs mention it only briefly and somewhat circularly.
Okay I think I have figured out the stepFunction stuff. You need to set it per buffer you are using, here’s my (Swift) code for a similar setup to the instanced rendering example here, except I’m rendering 10,000 particles:
vertexDescriptor.layouts[0].stepFunction = .PerVertex // Vertex data (single Quad)
vertexDescriptor.layouts[1].stepFunction = .Constant // ModelViewProj matrix
vertexDescriptor.layouts[2].stepFunction = .PerInstance // Particle Translation
On my iPad Air 2 adding these additional step functions for the other buffers *more than doubles* the rendering speed. 10,000 textured particles went from ~13ms to ~5.5ms.
same on iPhone 5s, on ios 9 : 5fps
can we pass specific texture per instance as we are passing specific uniform per instance ?? please help me
The easiest way to do this is probably to use an array texture (e.g.,
texture2d_array, which allows you to have multiple “slices” of texture data in a single texture, which can be sampled by specifying an additional index when calling thesamplefunction on the texture. You would pass the appropriate slice index as another member of your instance data. There is a requirement that all textures in an array texture have the same size and pixel format. Another option is to combine all the textures needed by a draw call into an “atlas,” a single texture that you sample from according to the instance ID or other calculated value. Finally, if you only have a few textures per draw call, you can just bind all of them to consecutive entries in the argument table and select which one to sample from by using the array of textures (distinct from texture arrays) syntax in your shader and indexing into it according to the instance data. Refer to the Metal Shading Language Specification for further details on arrays of textures.thank you very much warren
Hi Warren,
I have been trying to learn instanced drawing but unfortunately your example project seems to be broken. I tried fixing a few things and eventually got it to run but all I get is a mess of triangles on the simulator screen. It would be great if you could update this as there aren’t many examples around for this technique.
Thank you for your great resource.
Hey Peter, thanks for the comment. I’ve updated the source to fix some issues related to texture storage/usage modes and vertex attribute alignment. Give it a spin and let me know if it works for you!
Hi Warren,
Thank you so much for updating the project. It now works perfectly on my recent Mac Mini. I even managed to increase the number of cows to 600 before there was noticeable lag in the simulator. Very nice!
Thanks again.
Delighted to hear it! Thanks for reporting back